Hier ein kleiner Beitrag von meiner alten Webseite zu der endlosen Arbeit in der Dunkelkammer. Die Arbeit findet ja nun im Tageslicht und mit Kaffee statt, in der virtuellen Dunkelkammer am Computer. Sie nimmt heute oft mehr Zeit in Anspruch als wir je über den Chemikalien zugebracht hätten!
The darkroom is dead!
Long live the darkroom!
This ancient saying usually refers to a king. Once the (old) king is dead, a new king is declared, and of course you wish him well and a long live!
I am not sure if we thought the same way in the early days of digital photography but sure enough, the analog/film dark rooms were given up. A darkroom is literately a dark, light proof room, with a dim reddish or brownish light. There, a projector beams the image on a photo paper (which in most cases isn’t made of paper but of plastic, but that’s another story). The paper goes through some chemical baths and is dried on a washing line, and at the end of the day you had a black/white print in your hands.
Having a well equipped darkroom was the indicator for a higher level photographer who wanted to have full control over all steps in the process from making the photo to film development to the print. It was considered time consuming and expensive.
Now, everything changed and became better! So, we stopped spending time and money for a darkroom. We spend even more time and more money for the new darkroom. The digital child of the analog father! I believe more people spend more time processing even more pictures every day. This takes place in a bright office, with a nice cup of excellent Kenyan coffee and maybe a croissant. Adobe calls its product Lightroom. So you see the change even in the name.
Well, okay, let me come to the point. I am not unguilty. I moved from the physical darkroom to my office space and do some image processing. As usual, equipment is overrated, what matters is ideas, creativity and skills. The steps I do can be performed with many many different programmes and its more a question of your level of computer skills, the hardware available, the money you want to spend, and how important the whole affair is for you. You can do a lot with GraphicConverter and the programmes shipped with the cameras. The most extensive are Adobe Photoshop and GIMP. The former expensive, the latter free. Chose what you like most and with what you get along.
My Workflow – Standard
At any rate, here is my workflow. It starts in the camera and I use RAW, i.e. NEF of Nikon and ORF of Olympus, only. RAWs are a nice compromise between size and information. And: NEVER EVER overwrite the original file!
- Make the picture in RAW.
- Transfer it to computer.
- Delete! Delete! Delete! Yes, deleting images is essential to have good ones. Digital photography is ideal for making many pictures, which is good for everything to do with wildlife. But delete most of them, right away. I usually delete about 50% because something is wrong, like the position of the animal, some grass, some twig. Photos under more controlled situation like studio need less deleting.
- Pictures go to a folder with the date in ISO standard and a useful name, like travel companion and location visited.
- Of what is left, 10% are considered further.
- Basic image processing. That is noise (sorry Olympus), contrast, brightness, saturation are adjusted to some degree, alwayswith the RAW converter, so no new file is generated.
- If my customer or me is really excited about an image, the processing is moving to Photoshop.
- Dust is removed. Sorry, Nikon, your dust removal is nothing compared to Olympus. After six years in Kenya, there is no single speck on the Olympus images, while there were many on the Nikon sensors.
- In the image processing software, I chose how to trim/crop the image. Trimming and Cropping is a simple, yet essential step to find the image in your picture! Do it!!
- Again, after cropping, contrast, brightness and saturation are again adjusted. Also I usually give a mild Unsharp Mask. Against common believe you can destroy an image by too much sharpness, and while I am aware that sharpness has become a fetish in some forums, I don’t follow it.
- Save as TIFF or little compressed JPEG, i.e. big file size.
- Print if you like, or post on your website, or send to your friend or Facebook, or Twitter or, well, you know.
My Workflow – Special
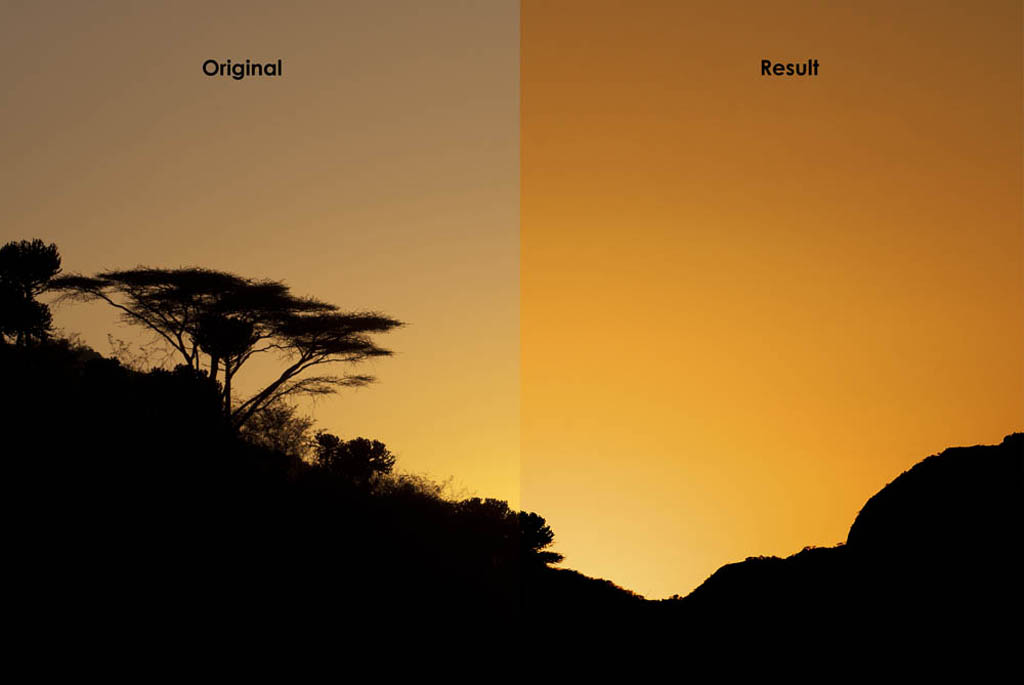
Some pictures ask for special treatment. That is landscapes and portraits. They can improve tremendously if you take more courages processing steps. Here are some example, starting with the obligatory sunrise over Africa. If you ever visit Kenya, get up around 6 o’clock, and get the pictures.
Sunrise. Full size, colour, contrast, removal of spots.
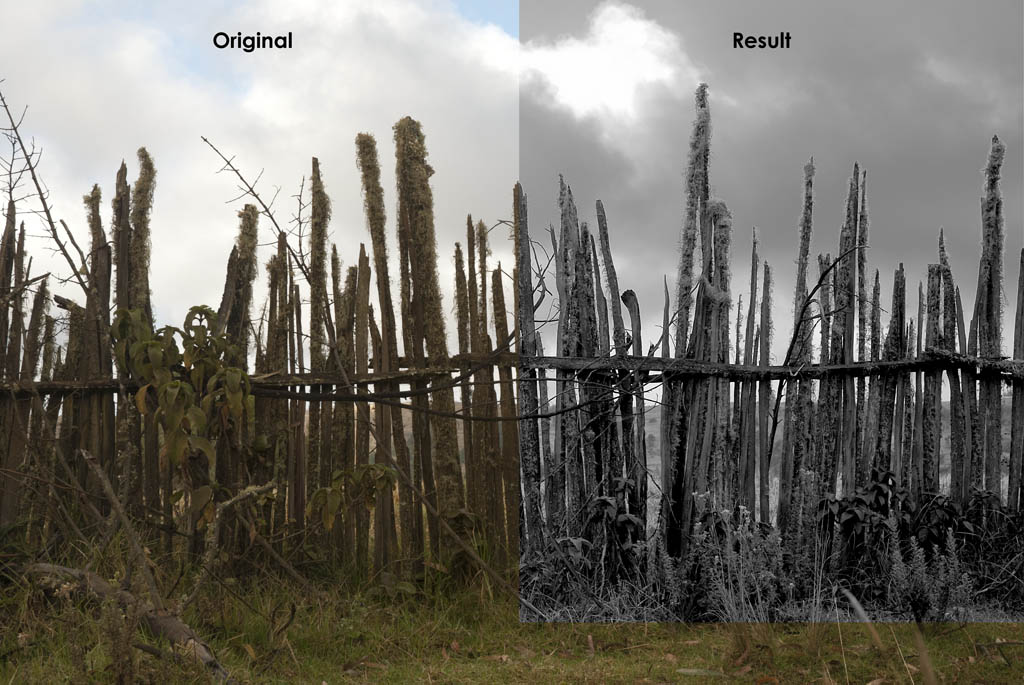
Mountains and Hills. Contrast, trimming and turned into b/w. Also I increase the contrast in the background areas.
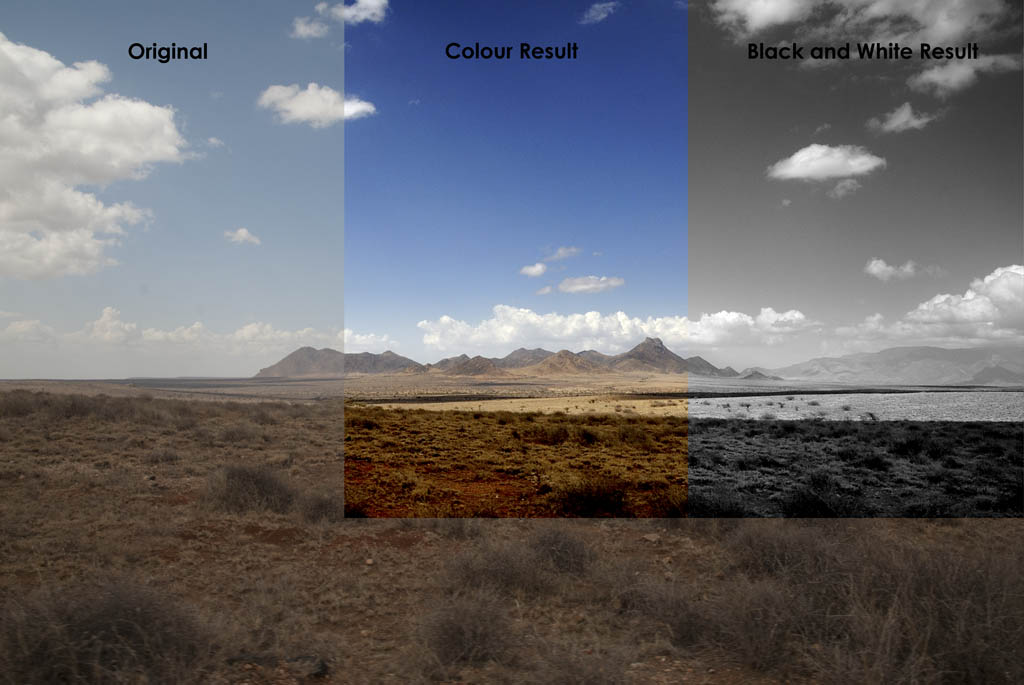
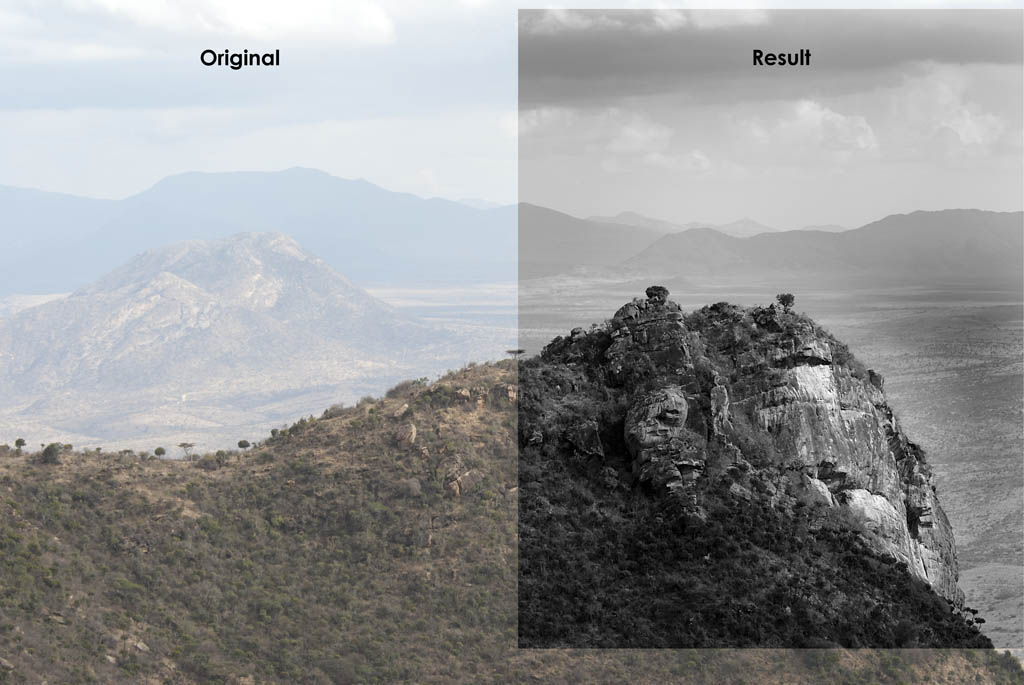
Sky and Mountain. Everything of the above.